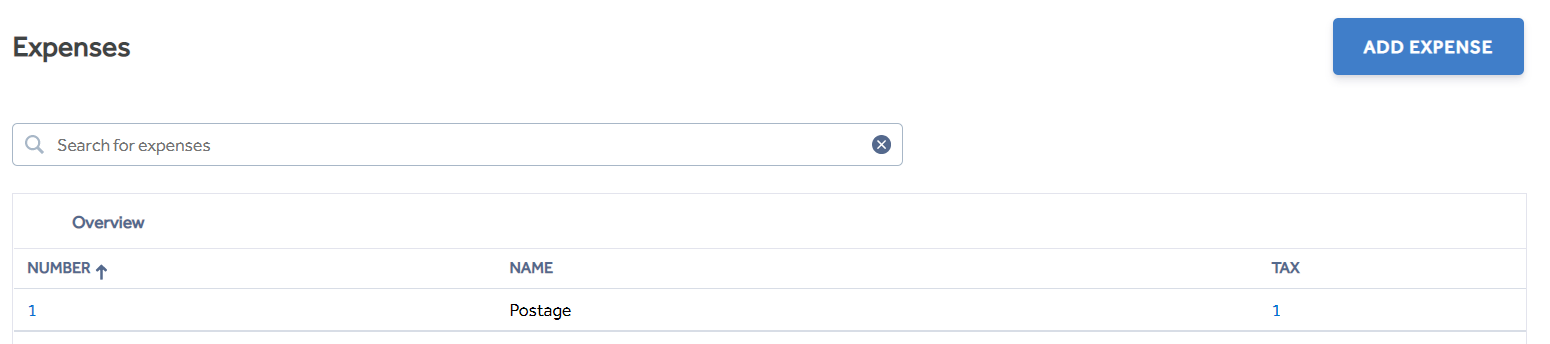
Expenses
The Expenses page is where you can add, amend and delete expense details.
These Expense codes are used via the POS to record any costs that are made directly from the cash drawer.
For example, you may need to remove cash from the drawer to pay for the window cleaner or pay for cleaning materials.
Creating an Expense
In the Expenses page you will see your current expenses listed.
To begin making a new Expense use the  a new page will appear.
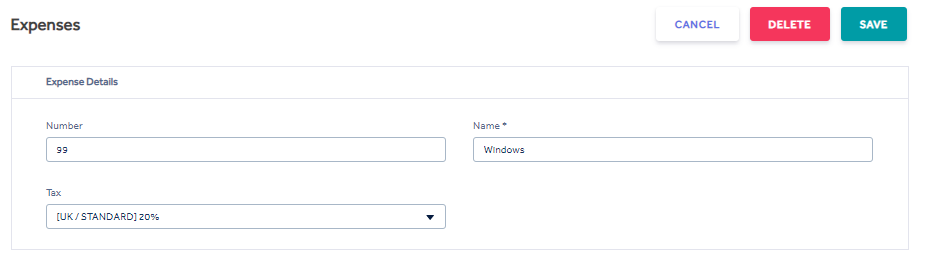
Number - Numbers only (4 digits max.) and must be unique.
Name* - Give your Expense a name so that it can be identified at the POS. This is limited to no more than 50 characters.
Tax - Tax assigned to the specific Expense.
NOTE: Expenses can have the same Name however they will be unable to share the same number. If you try to assign a number that's already in use you will see the following message 
Once you have filled in the Expense details click ![]() you will see a notification appear in the top right corner
you will see a notification appear in the top right corner to confirm the Expense has been saved.
NOTE: Once you have made your expenses you will need to attach them to a group so they become available at the POS. This is done in the Groups module.
When using the Expenses function via the POS they will be displayed alphabetically along with the assigned number, for more information see Make Expense.
Editing an Expense
Select the Expense you need to amend. This will open up the Expenses window.

![]() - This will return you to the Expenses page.
- This will return you to the Expenses page.
![]() - This will remove the Expense, you will see a notification
- This will remove the Expense, you will see a notification  you must click this to remove the Expense. Once the removed you will see the following notification to confirm
![]() - This will save any changes made to the information.
- This will save any changes made to the information.