Filtering
The grid view can be changed to show the different types of figures, change the vertical and horizontal selection’s, or add a filter.
All Section - This is a list of the grid selections available to show in the grid view.
Rows - The vertical selection on the left-hand side of the grid.
Columns - The horizontal selection on the top panel of the grid.
Data - The type of figure that you wish to see. Sales, On hand, On Order, Store etc.
Filters - This is where you can choose to see only certain information from one of the Grid Selections. e.g., You wished to see only 1 of your 2 stores in the grid.
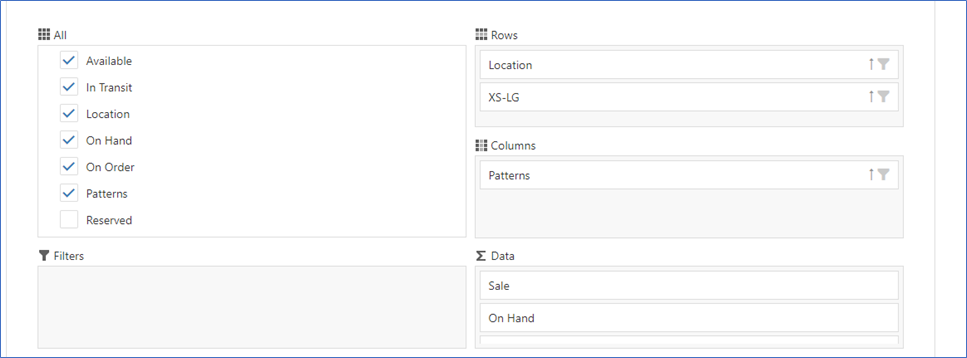
Add/Remove - Grid selections can be added and removed by ticking the grid selection On or Off in the ALL section.
Tick Off – Removes it from the Rows, Columns, Data or Filter sections.
Tick On – It is added back into one of the Rows, Columns, Data or Filter sections.
Alternatively, they can be dragged and dropped between each section.
A Grid selection can only belong to 1 section at a time, Rows, Columns, Data or Filter
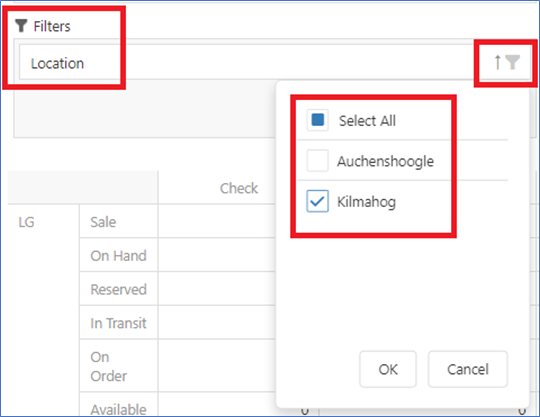
Filter Selection - This is where you can choose to see only certain information from one of the Grid Selections. e.g., To see only 1 of your 2 stores in the grid, rather than both stores.
Drag the Location field to Filters.
Click on the Filter icon [top right]
Within the panel, select which store to view.
OK to apply.
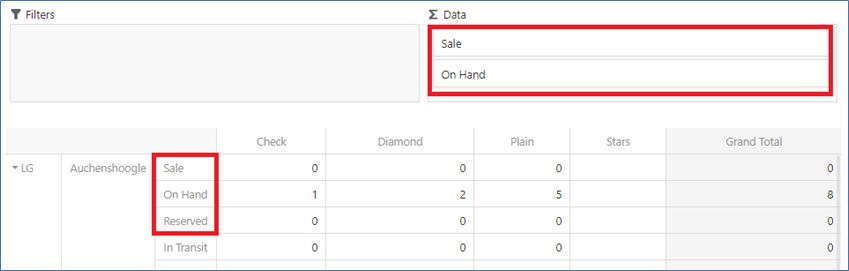
Grid View Order - If more than 1 grid selection is in a section, the order in which it is displayed is the order it appears in the grid. Change the order by dragging the selections into the correct order.
Example below is On Hand, then Sales, then Reserved.
Drag the Sale selection above the On Hand selection.
Before View
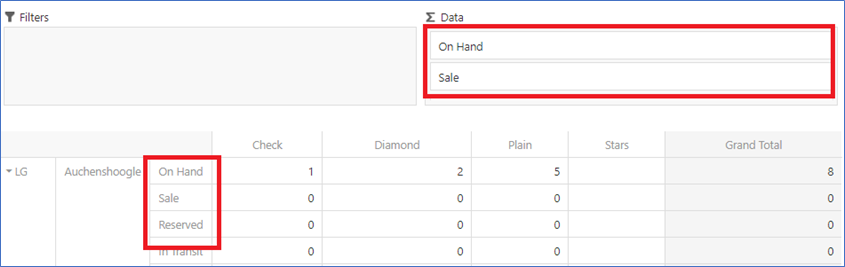
The order has now changed to Sale, On Hand, Reserved.
After View