Functionality
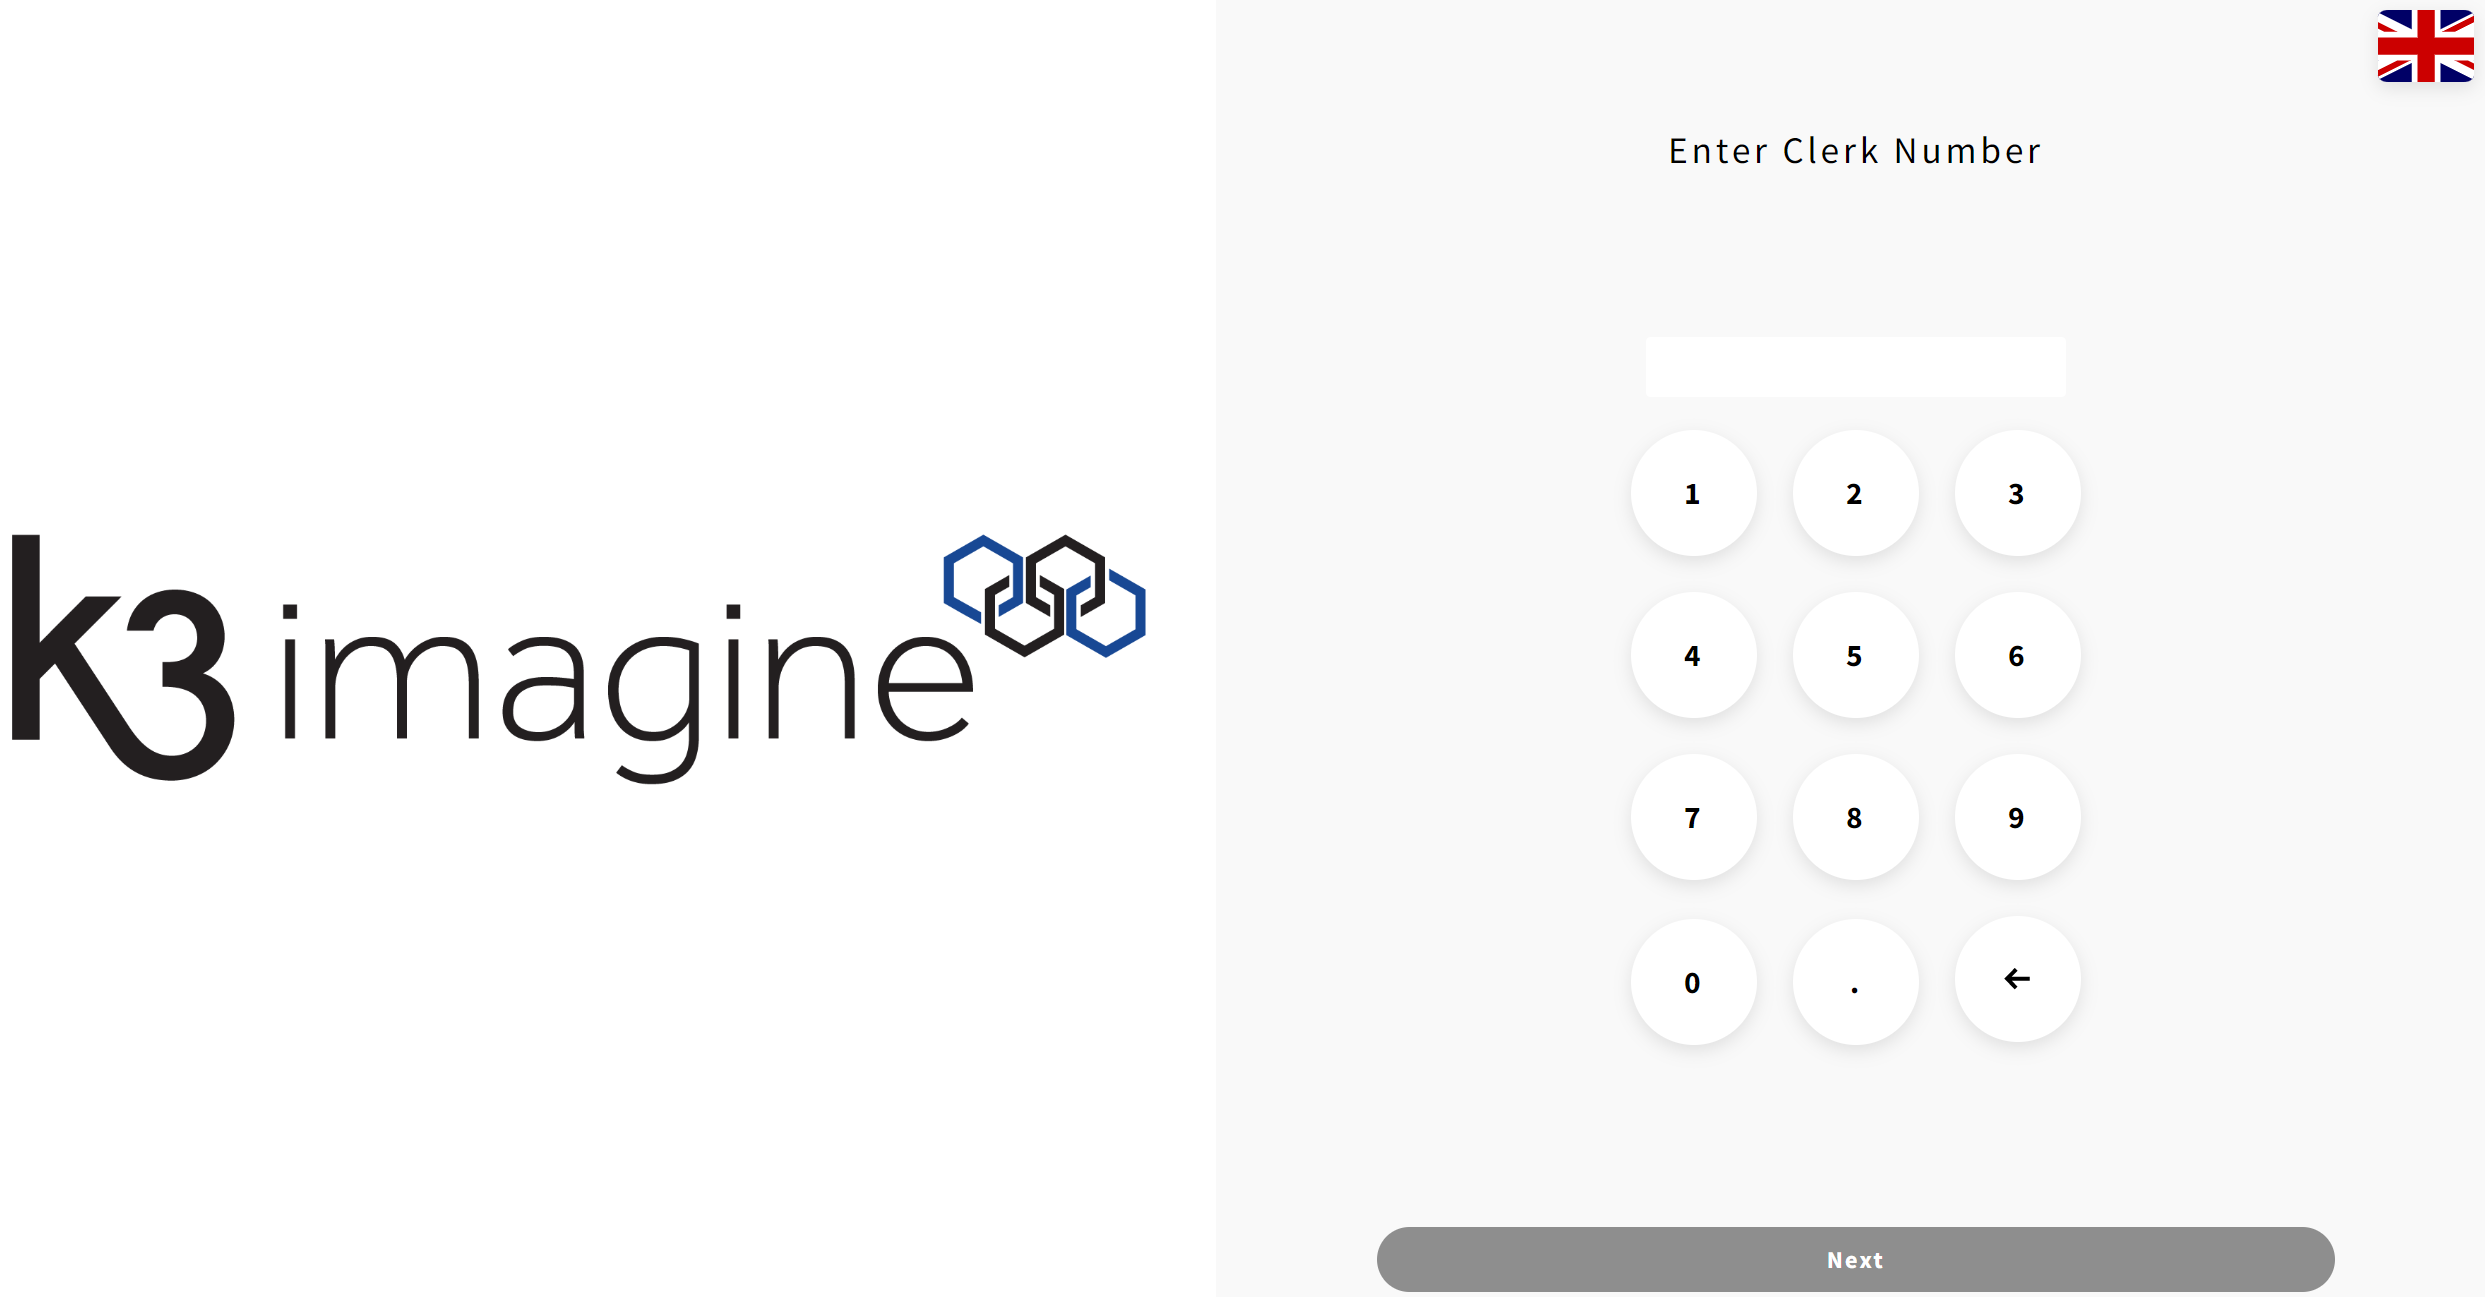
Start / Login Screen.
From here you can change the language using the flag in the top right corner. However it will always revert back to the default language after the transaction has completed,
The landing image is configurable via Visual Profiles.
Composer View
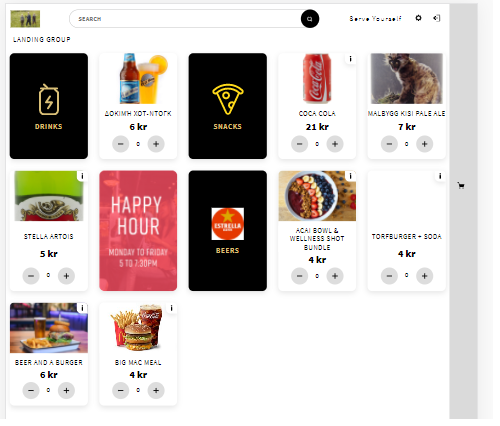
The Composer View is the main screen used within the application. The clerk uses this screen to select which items the customer is ordering.
The screen will always display the Landing Group for the selected store as the starting point for navigation. The Hierarchy and navigation can be expanded and customised further using the Composer Groups and Visual Composer Modules.
You can choose to drill into the sub groups (Blue tiles) to see another layer of the hierarchy, or you can use the +/- buttons to add your items to the basket. If you press the + on an item which is a Bundle or has Modifiers, you will be asked to make your selections before adding to the basket.
 On screen navigation - If you have Bundle Groups set up, you will see navigation buttons appear when in those groups. For example Home > Drinks > Pepsi / Sprite / Coke. you can use this to return to the Home Screen or to a section by selecting on the POS.
![]() Tile Button - The tile button if pressed will return you back to your home group from wherever you are in the application.
Tile Button - The tile button if pressed will return you back to your home group from wherever you are in the application.
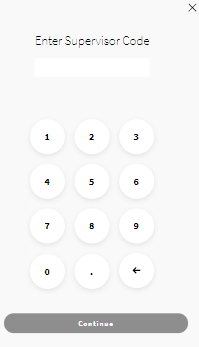
![]() Supervisor Functions - This button will ask you for a PIN code to enter supervisor functions.
Supervisor Functions - This button will ask you for a PIN code to enter supervisor functions.
 Product Information - Any tile with the i symbol means there is some more information you might want to see for an item. It also indicates that there may be Bundle Groups or Modifiers for the item when selected.
 Basket Button - The basket button shows you how many items you have in your basket. You can press the button to view the basket, which you have to do in order to proceed to Payment.
Supervisor Functions
To access the Supervisor Functions locate the settings cog in the top right hand of the POS, you will be prompted to enter a supervisor PIN. Supervisor permissions are is set up in Configuration.
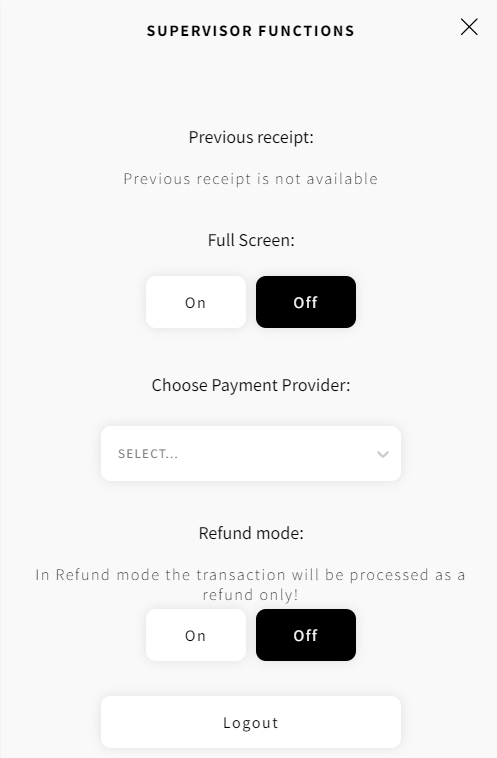
Previous receipt - Gives the option of emailing or printing the previous receipt.
Full Screen - This will toggle full screen on or off, however this function does not work with Chrome due to the browsers particular settings.
Choose Payment Provider - This lists all of the payment providers that you have set up in Admin. If you do not have a payment provider, completing a demo or testing, you can use the Virtual, which bypasses the payment and assumes a full payment has been made. The virtual is not to be used for a live environment.
Refund Mode - Allows you to go into Refund Mode, this will make the whole transaction a refund.
Logout - This will empty the basket and return you to the login screen.
Items, Bundles and Modifiers
When you add a Bundle or Modifiable item to your basket, you will be prompted to make the relevant selections before adding them to the basket.
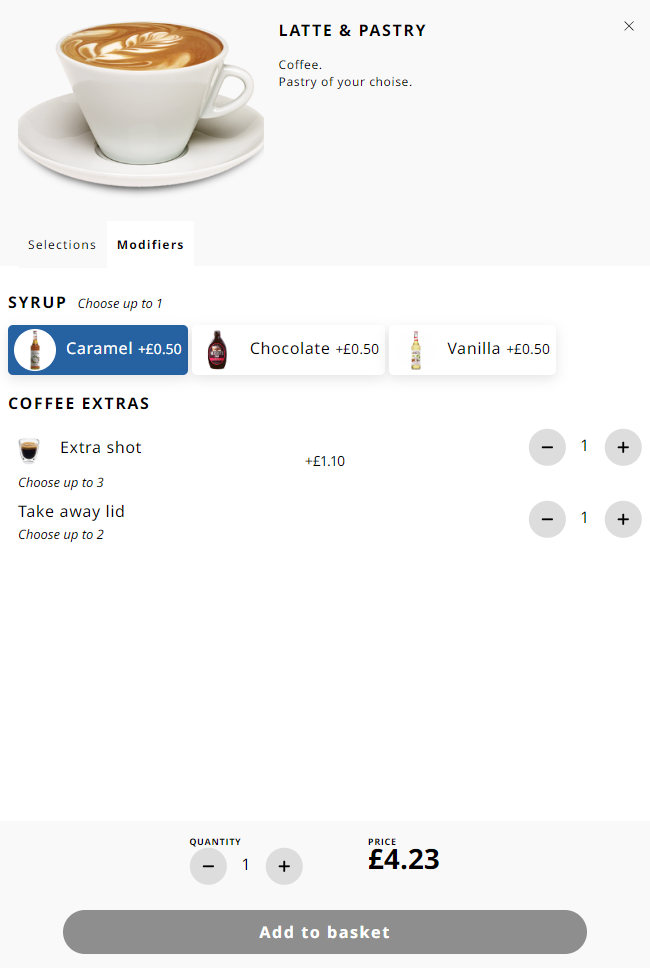
If your Bundle main item has Modifiers linked to it, it will automatically take you to the Modifiers tab if you wish to make any alterations.
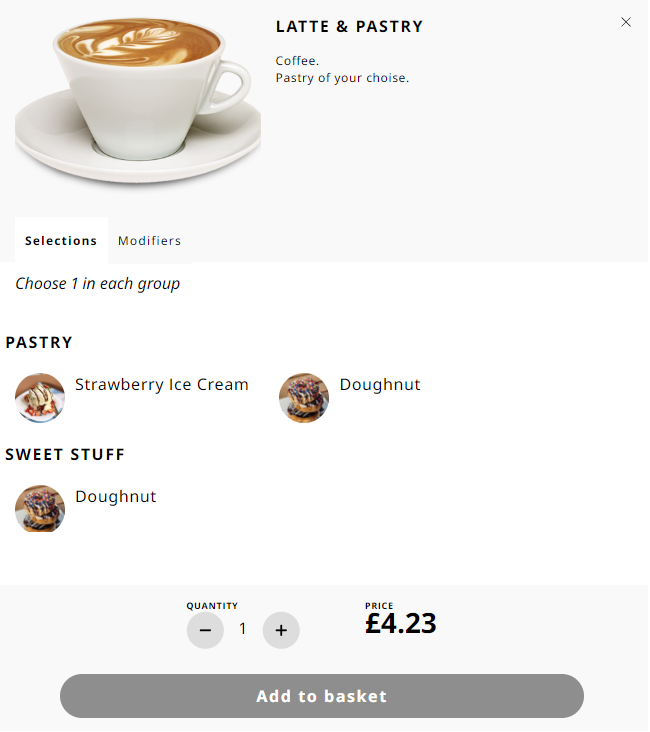
Non-bundled items with Modifiers will only show you the Modifiers.
The min max rule for selections is displayed next to the Modifier title, You will also see any additional prices for the modifiers.
Modifications that you make get printed on the order confirmation slip and also make their way through to the Order Status Display to be used in the order preparation area.
Basket
The Basket screen is a listing of all of your items, along with any bundle selections and modifiers you have made. They are grouped together, so if you have made more than one item with the same selections and modifiers they will be on the same basket line. It clearly denotes the extended price of the basket line and also displays the quantity multiplied by the single item price.
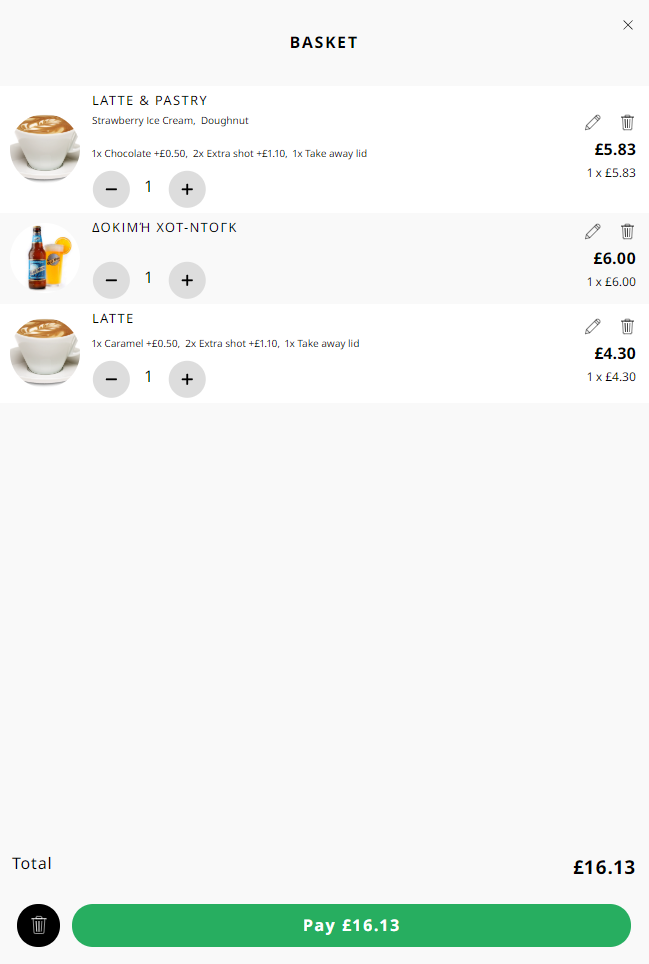
 Edit Line - You can use the pencil icon for the basket line to make alterations to that line (change modifiers or bundle selections).
 Delete Line -Use the trash can icon to remove the line from the basket.
 Delete Basket - Use the black trash can next to the Pay button to clear the basket and return to the start screen
Payment
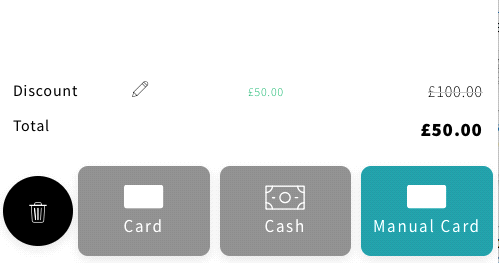
At the bottom of the Basket screen, you will have your payment options. You can choose your payment method to use and you can split your payment types in use as well.

A Card payment type will initiate communications with the Connector that has been configured to use for a real EFT payment.
A Cash payment will also utilise the connector in order to pop the cash drawer.
A Manual Card payment does not use an integrated card terminal and is designed for use with stand-alone chip and pin. it only requires the connector for receipt printing.
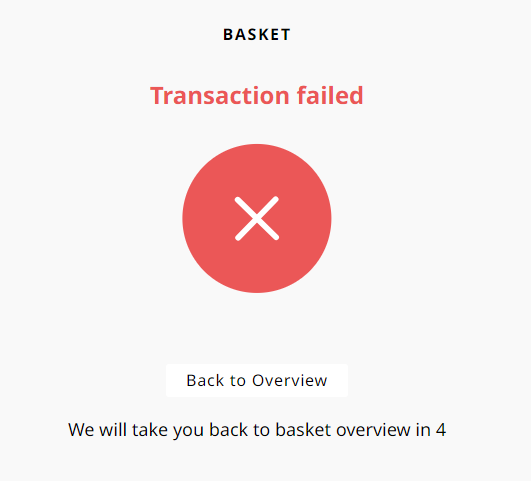
If the payment fails, you will be advised and after 5 seconds it will return you the basket to try another card. You should refer to the PED for details on why the transaction was declined, as each provider is different, so we only display a failure. NOTE: You will also see a failure if the Simple POS is unable to communicate with the Connector.
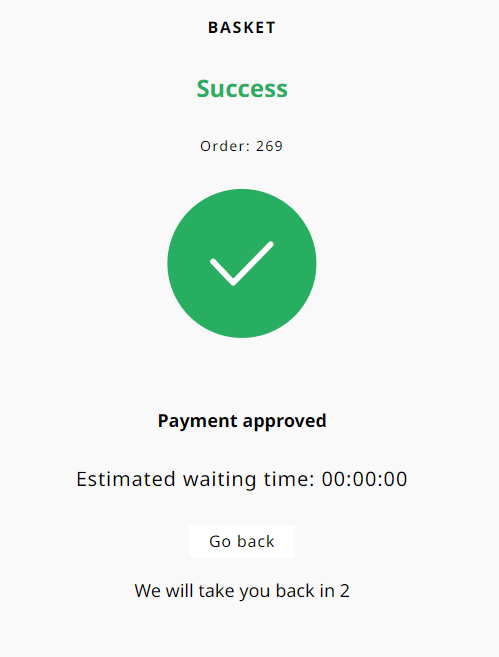
If the payment is successful, the transaction will be submitted into Imagine's back-end for onward processing.
It will now.
- Submit the order to the Order Status Display.
- Return you an order number which is displayed on screen and used in the OSD and ORB.
- Print an order confirmation slip including the order number and any bundle selections and modifiers which are applied.
- Show you the estimated waiting time, which it calculates based upon the last 15 minutes order throughput.
Before returning the user back to the start screen.
Refund Mode
Refund mode is available in the Supervisor Functions. When you are in Refund mode, the entire transaction is classified as a refund. There is no ability to perform an exchange. When you are in refund mode it is very clear in order to ensure you do not make a mistake.

Discount
After registering an item against the POS there are options available to discount them. These options will be detailed below.
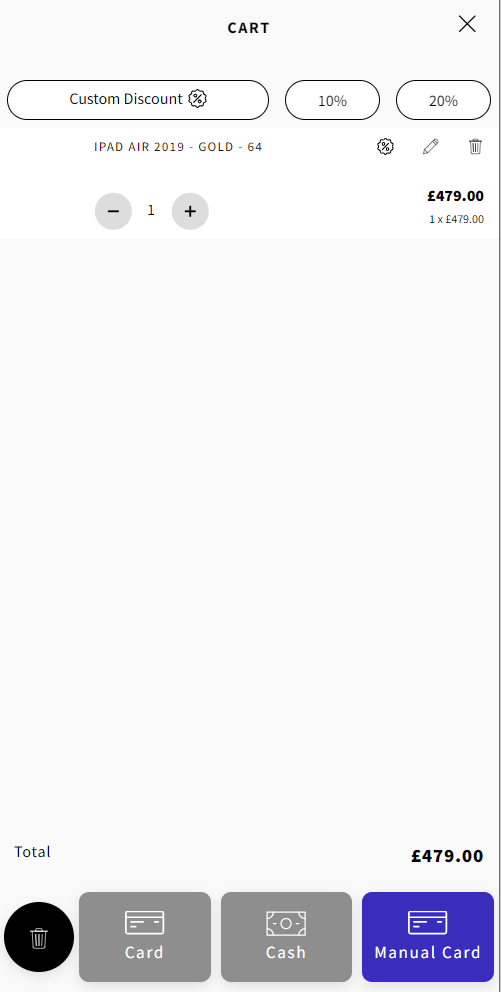
![]() Clicking one of these will set the percentage discount against the item(s) in the basket.
Clicking one of these will set the percentage discount against the item(s) in the basket.
![]() Clicking onto ‘Custom Discount’ brings up a dialogue allowing the users to choose to discount by a percentage or a set amount.
Clicking onto ‘Custom Discount’ brings up a dialogue allowing the users to choose to discount by a percentage or a set amount.
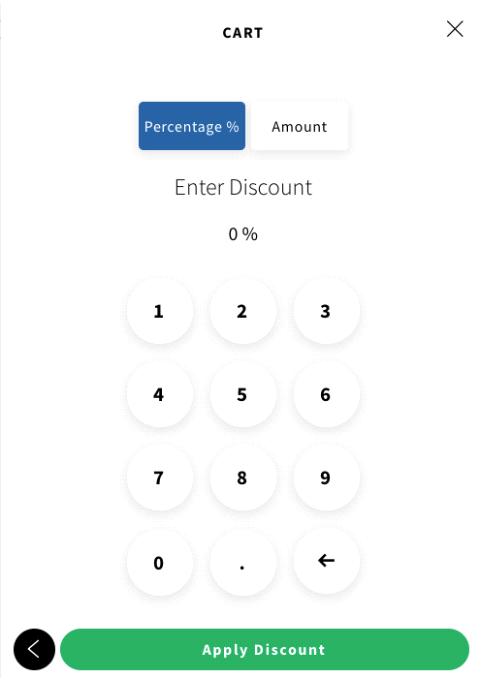
Once the discount has been entered press ‘Apply Discount’. This will then set the amount or percentage against the product in the basket.
