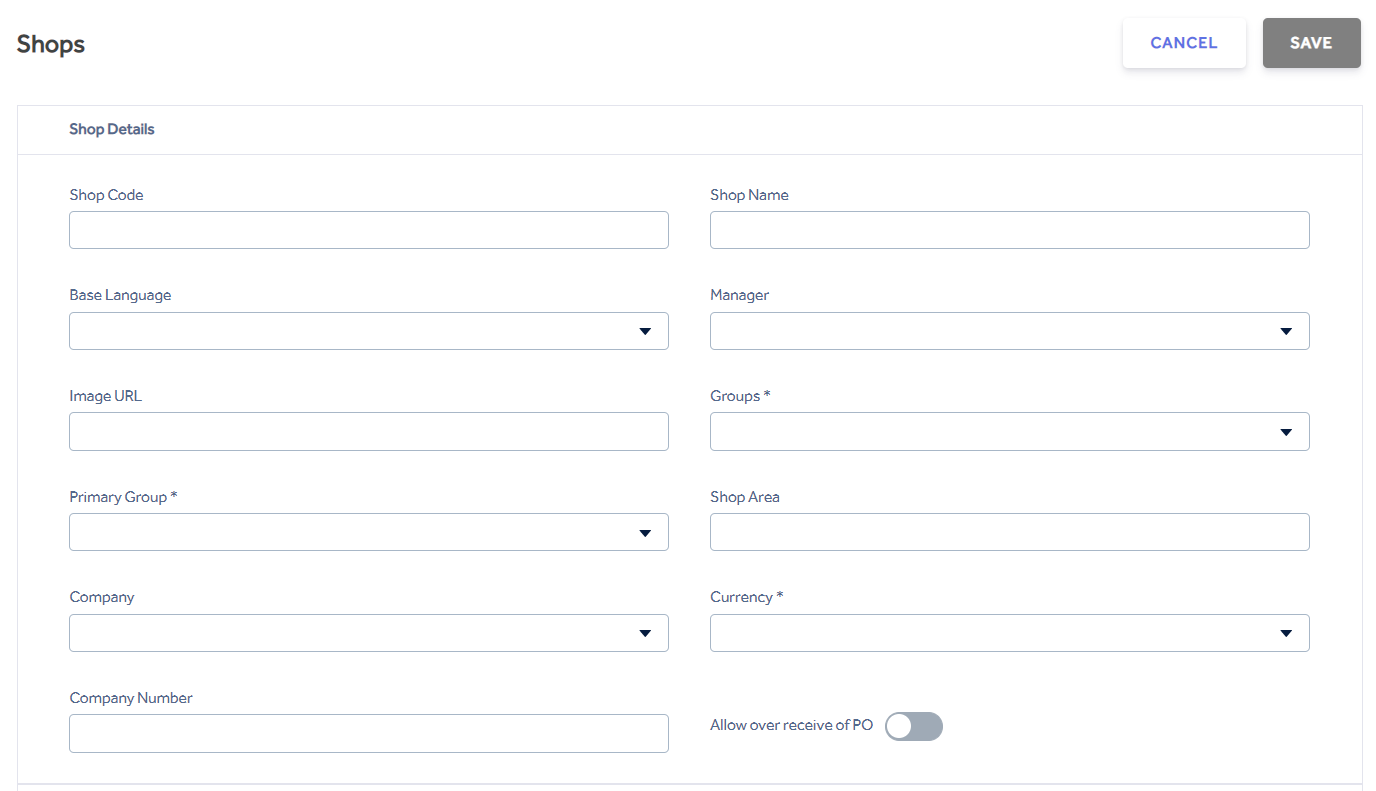
Shop Code - This will be your external identity for 3rd part integration use and must be a unique combination of letters and numbers.
Shop Name - The name of your shop.
Base Language - Set the base language for the shop, if no base language is set it will default to English. This option effects the language in the POS.
Manager - Select the Manager from the drop-down list. Managers are set in Clerks menu using the Is Manager option.
Image URL - Enter the URL for the image of your shop here. The image will show on the Shops screen. Compatible image types are .bmp / .gif / .jpeg / .svg. If you are using TOP/POP applications you must have an image set here.
Groups* - Select the group(s) your shop is associated with. At least one group must be selected. Groups are created in the Groups menu
Primary Group* - From the list of Groups choose a single primary group that will take priority over other Group(s) settings
Shop Area - The area of your shop in square metres for KPI comparison in the Store Sale Report
Currency* - The shop currency is set here. Once the new shop has been created the shop currency cannot be changed afterwards to maintain accurate costs by location and profit margins.
See Inventory - Item List for more details,
Company Number - A text field to enter your company number or VAT registration details.
Active toggle - It is possible to make a shop inactive by using the Active toggle. This may be preferable to deleting a shop as the shop records remain intact.
Allow over receive of PO - When this is active this will allow the shop to over receive quantities of a PO. When not set to on, the shop will only be able to receive up to the quantity originally stated on the PO. This only effects Goods Received linked to a PO when Adding Items.