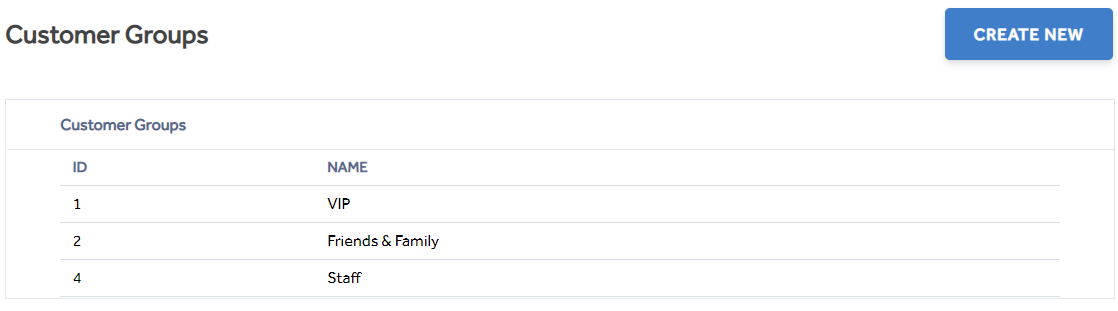
Groups
Customers within Imagine can be assigned to a Customer Group,
These customer groups can then be associated with promotional / discount offers within the Price and Promotion Engine (PPE module).
Promotional offers are triggered automatically at the POS when qualifying items are added to a transaction along with a qualifying customer via the Find Customer widget,
Creating a Customer Group
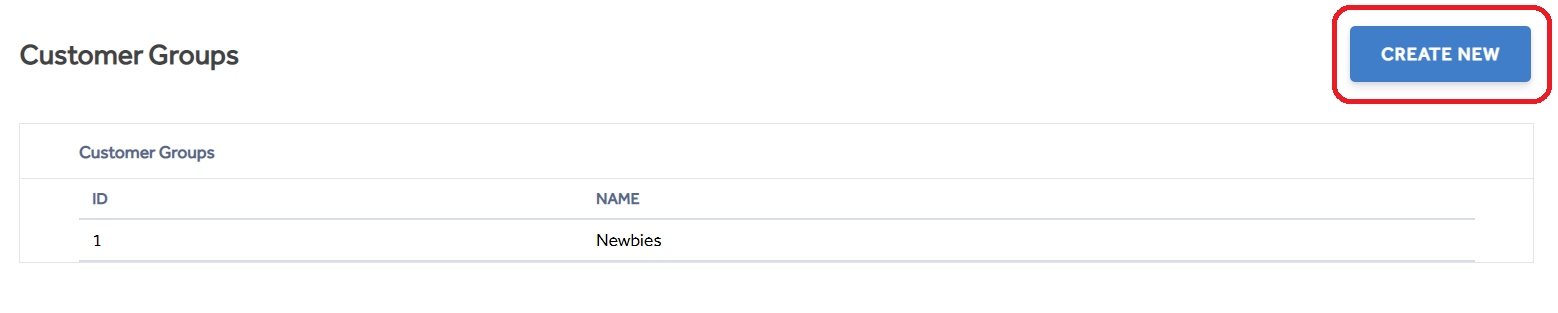
To make a new customer group, click ‘CREATE NEW’.
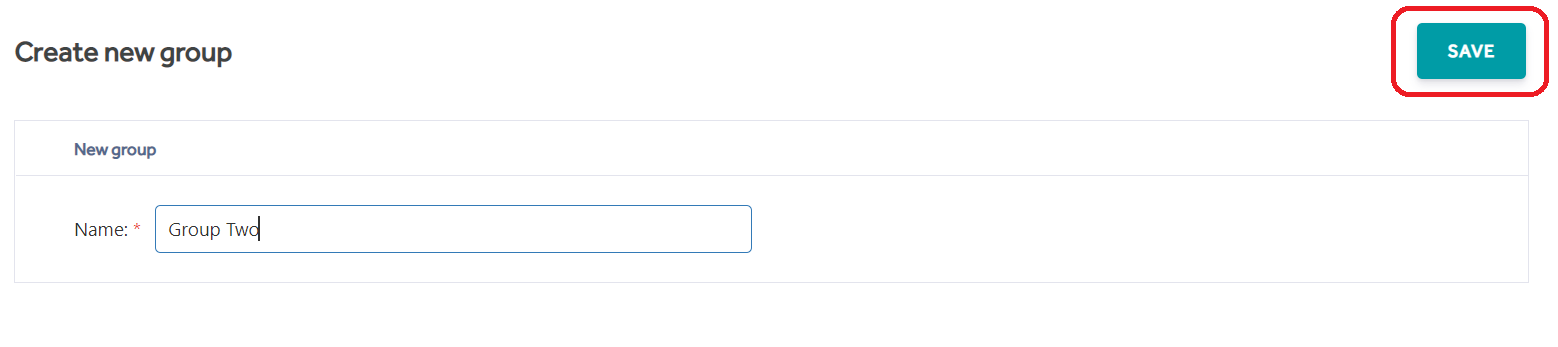
Enter an appropriate ‘Name’ for the customer group, then click ‘SAVE’. The group ‘ID’ will be assigned automatically and cannot be edited.
Assign / Unassigned Group Members. Once the group is saved, group members can be assigned.
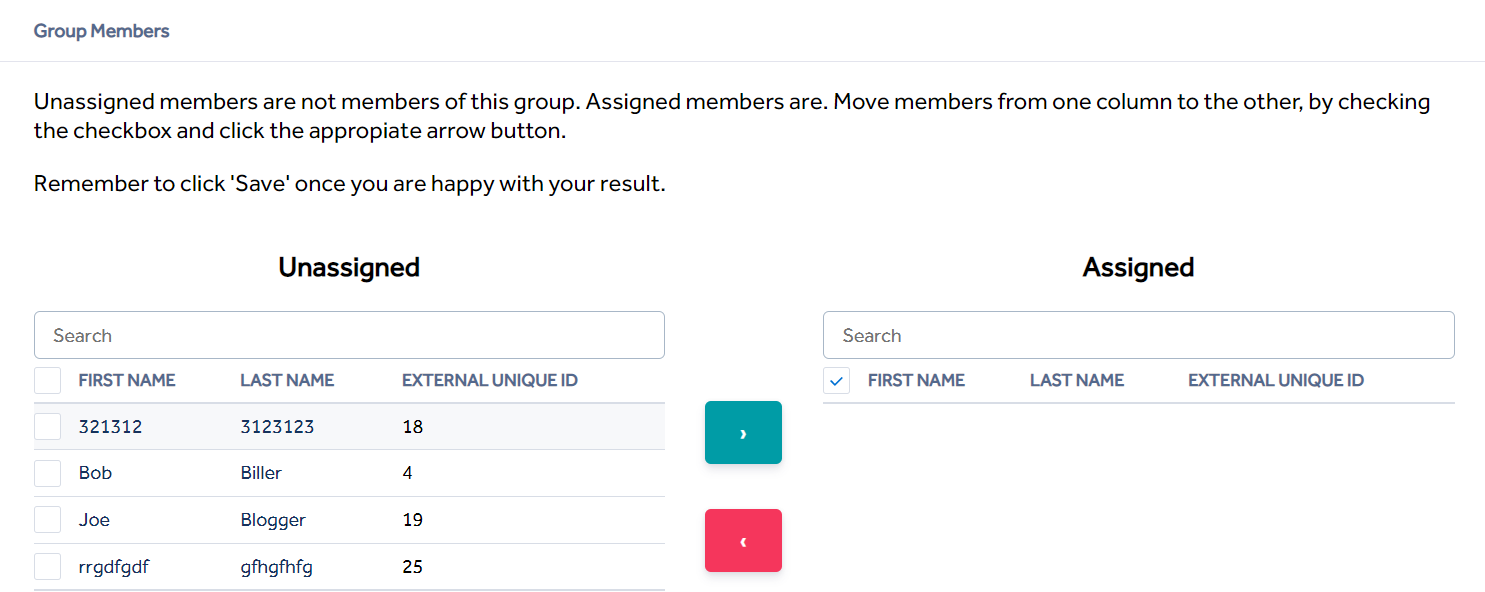
In the ‘Unassigned’ search bar, enter either first or last name of a customer. The list of matched results will be displayed below.

Using the checkboxes, select the customers from the list. The checkbox in the column header next to ‘First Name’ will select all customers in the search results list.
Click the blue button pointing to the ‘Assigned’ list.
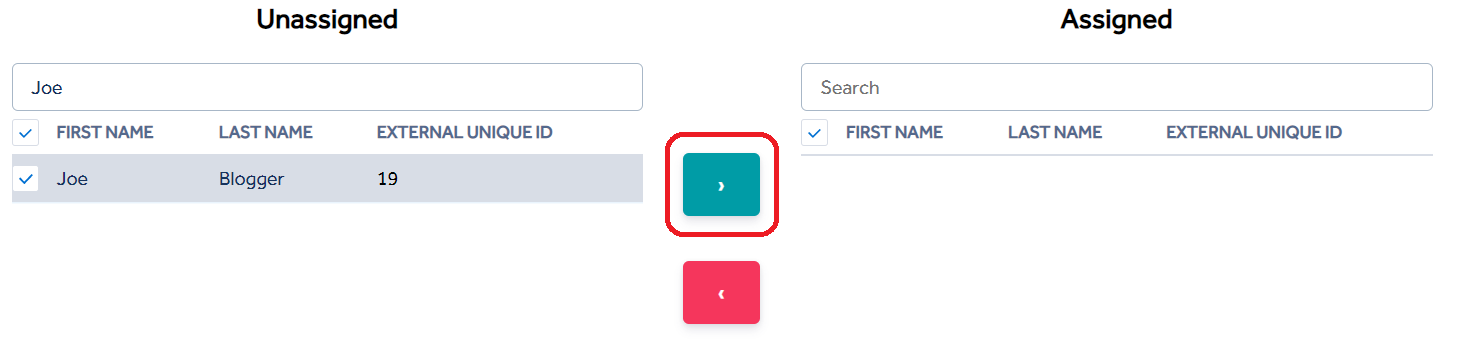
All selected customers will be moved to the ‘Assigned’ list.

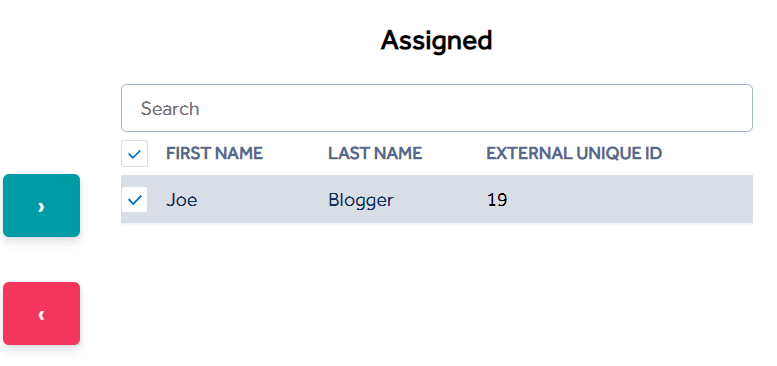
To remove a customer from a group, use the ‘Assigned’ search bar to locate the customer in the list. Use the checkbox to select the customer, then click the Red button pointing to the ‘Unassigned’ list. This will move the customer record from the ‘Assigned’ list to ‘Unassigned’.
Click ‘SAVE’ in the top right corner of the page to save any changes to the customer group.

Edit an Existing Group
From the Customer Group list, select a group to be edited.
Amend the following details as required:
- Group Name
- Group Members
Click ‘SAVE’ in the top right corner of the page to save any changes to the customer group.

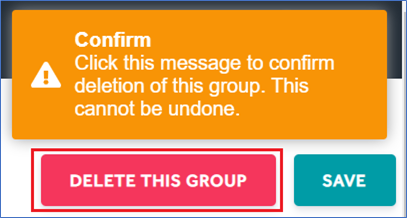
To delete the group, use the ‘DELETE THIS GROUP’ button, the click on the orange confirmation message.